Editing connected forms in Form Connector App is also a very straightforward process. This guide will walk you through each step, ensuring you can make the necessary adjustments to your connected forms.
Steps to Edit Connected Forms
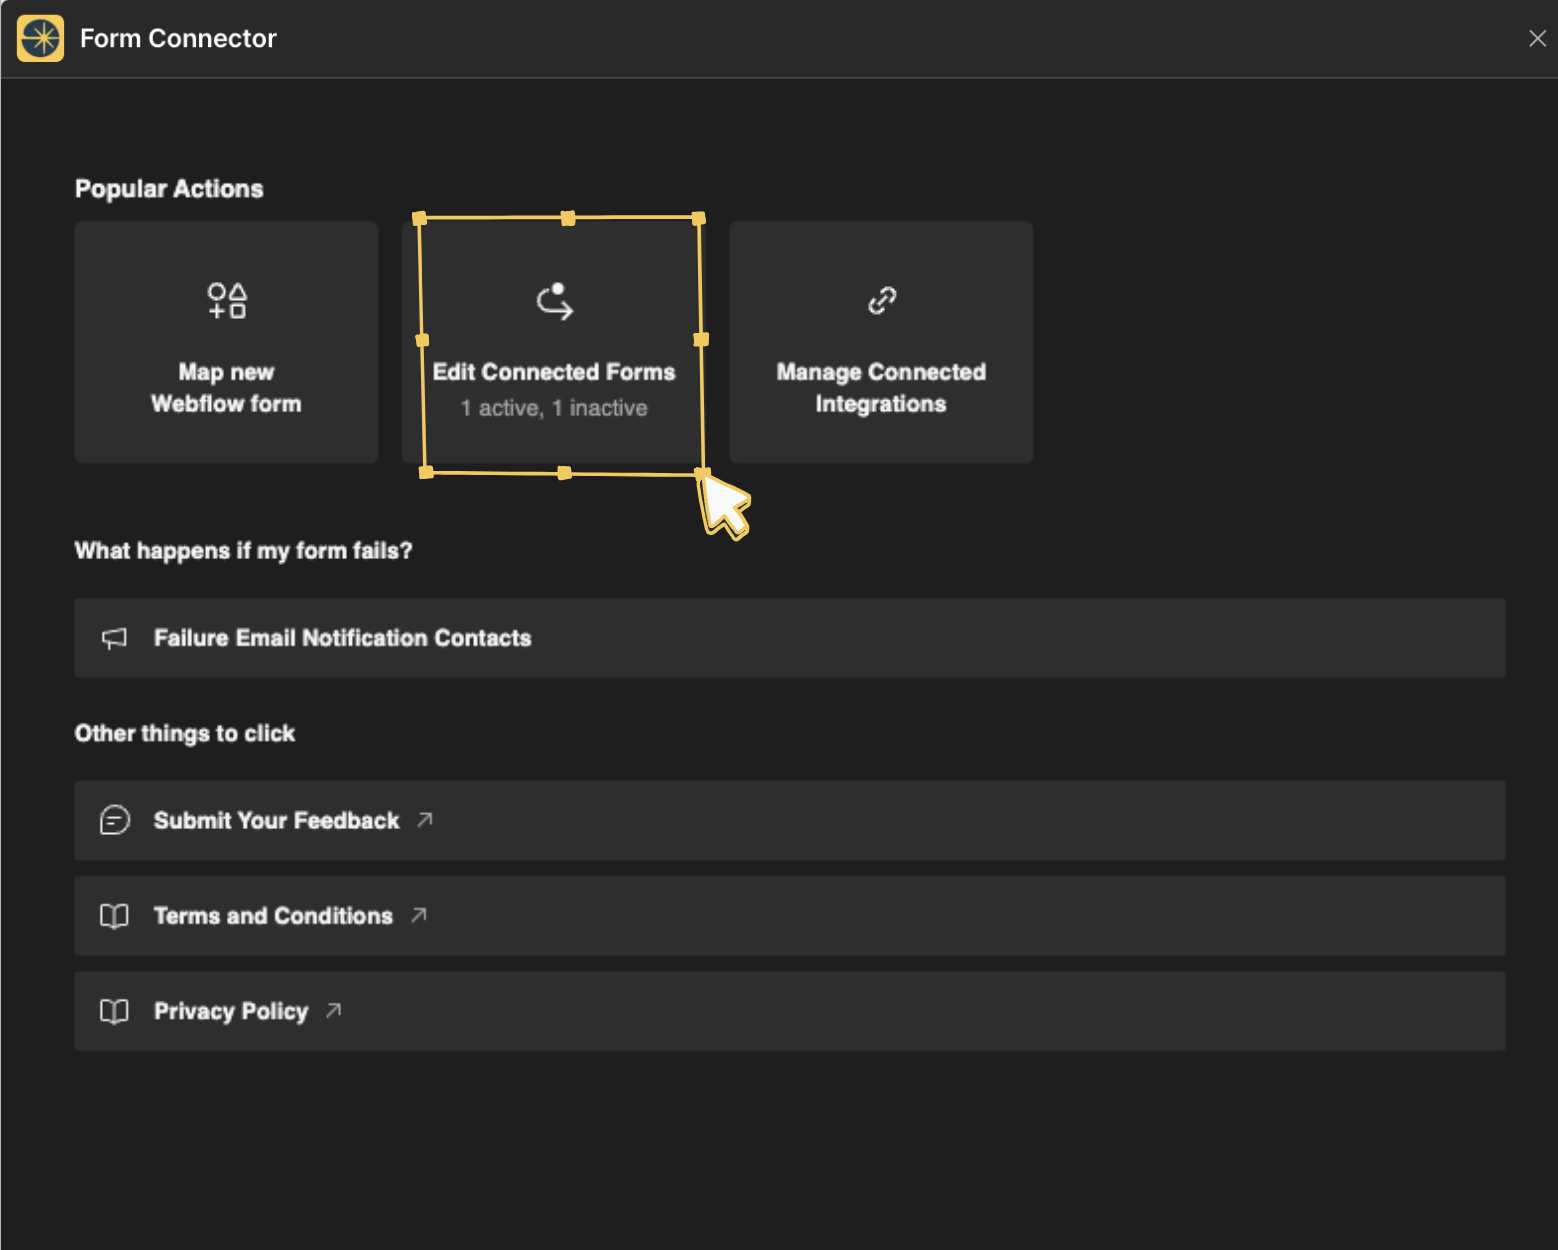
1. Accessing the Edit Connected Forms Menu
2. Viewing Active, Inactive and broken Forms
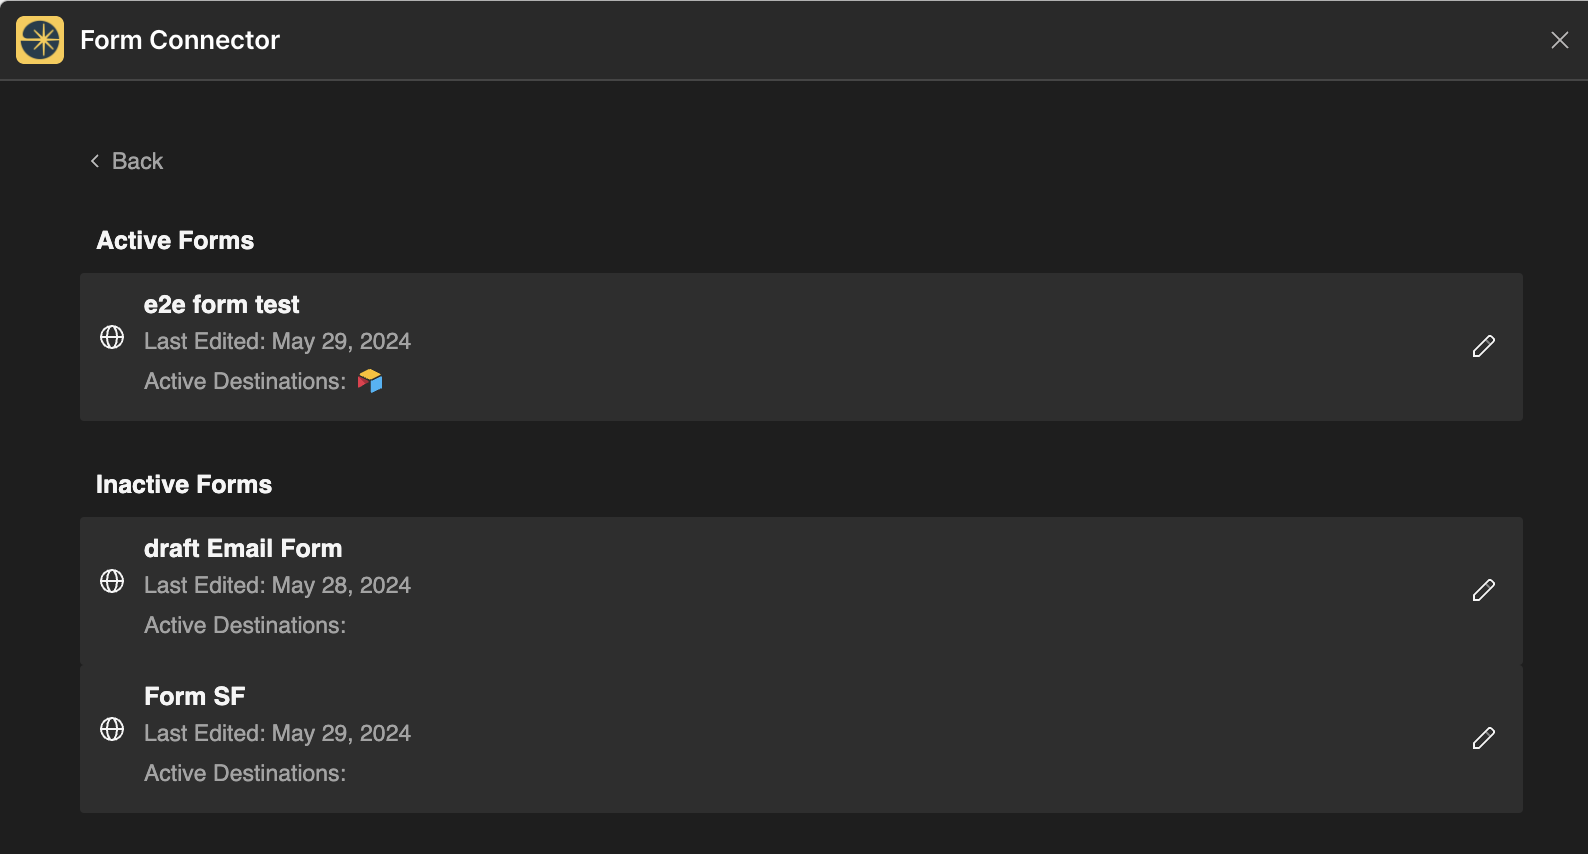
Delete Form.
3. Selecting a Form to Edit
To edit a form, click on the edit Icon.
4. Updating Form Mappings and Managing Integrations
Upon selecting a form, you will be directed to the Connect Form to Integrations screen. Here, you can view the existing connections and update the mappings as needed.
Refer to our Map New Form article to see detailed instructions on mapping forms with Destination's Workspaces.
Connect Form To Integrations screen will allow you to:
- Toggle Integrations: Enable or disable connections to specific software destinations using the toggle switches.
- Map Fields: Click on the "Map Field" button to adjust the mappings. This will open a detailed view where you can change the destination fields, default values, and Webflow form fields.
5. Mapping Fields
Use the field mapping interface to match the fields from your selected software destination with your Webflow form fields. You can add new fields or delete existing ones as needed.
6. Saving Changes
After updating your mappings and managing integrations, click the "Save" button to apply your changes. You will receive a confirmation message indicating that your form edits have been saved successfully.
By following these steps, you can ensure your form integrations are always up-to-date and functioning correctly. For more detailed instructions on specific integrations, refer to our other articles, such as the Map New Form article, or contact our support team.
Thank you for choosing Form Connector App to streamline your Webflow integrations!