Welcome to Form Connector App! To get started with integrating your Webflow forms to multiple software destinations, follow these simple steps.
Step 1: Logging into Your Webflow Account
-
Navigate to Webflow:
- Open your web browser and go to Webflow.
-
Log In:
- Enter your Webflow credentials and click the Log In button.
- If you do not have a Webflow account yet, you can create one for free here.
-
Access Your Dashboard:
- Once logged in, you will be directed to your Webflow dashboard where all your projects are listed.
Step 2: Selecting a Webflow Project
-
Choose Your Project:
- From your Webflow dashboard, identify the project you want to use with Form Connector App.
- Click on the project to open it.
-
Make sure your site has forms:
- Ensure that you have set up the forms in your project. If you need assistance setting up Webflow forms, refer to our articles:
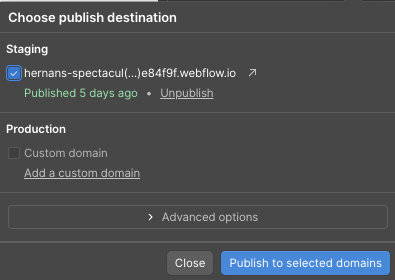
- Make sure you publish your site to staging before launching Form Connector App.
- Navigate to the upper right corner of your Designer and click Publish.

You won't need to publish site to a Custom Domain. Publishing Site to Staging will allow you to start rocking with Form Connector App!

Step 3: Authorizing Form Connector App
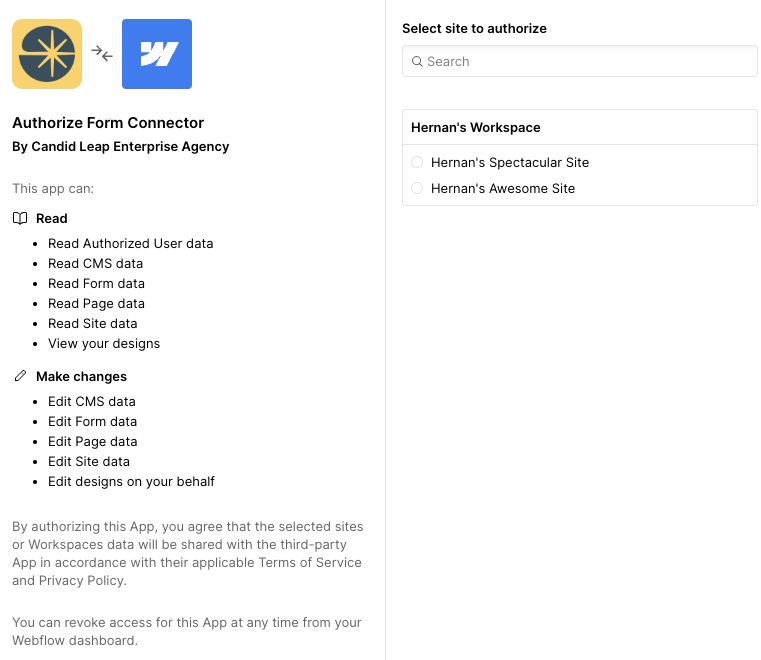
While logged into your Webflow Account, open this Link to authenticate Form Connector App to the specific site/sites you wish:
https://api.formconnector.app/auth/webflow

For more information about Authorizing Form Connector, check our Authorizing Form Connector guide.
Step 4: Navigating to Form Connector App
-
Access the Apps Menu:
After authorizing Form Connector, go back, refresh your Webflow Designer, navigate to the left-hand menu, and click on Apps (E).
![]()
- Launch Form Connector App:
Find Form Connector App in the list and click Launch.
![]()
Next Steps
Now that you have logged in and selected your Webflow project, you are ready to move on to the next steps: