Step-by-Step Guide to Field Mapping
Step 1: Select the Airtable Base and Table
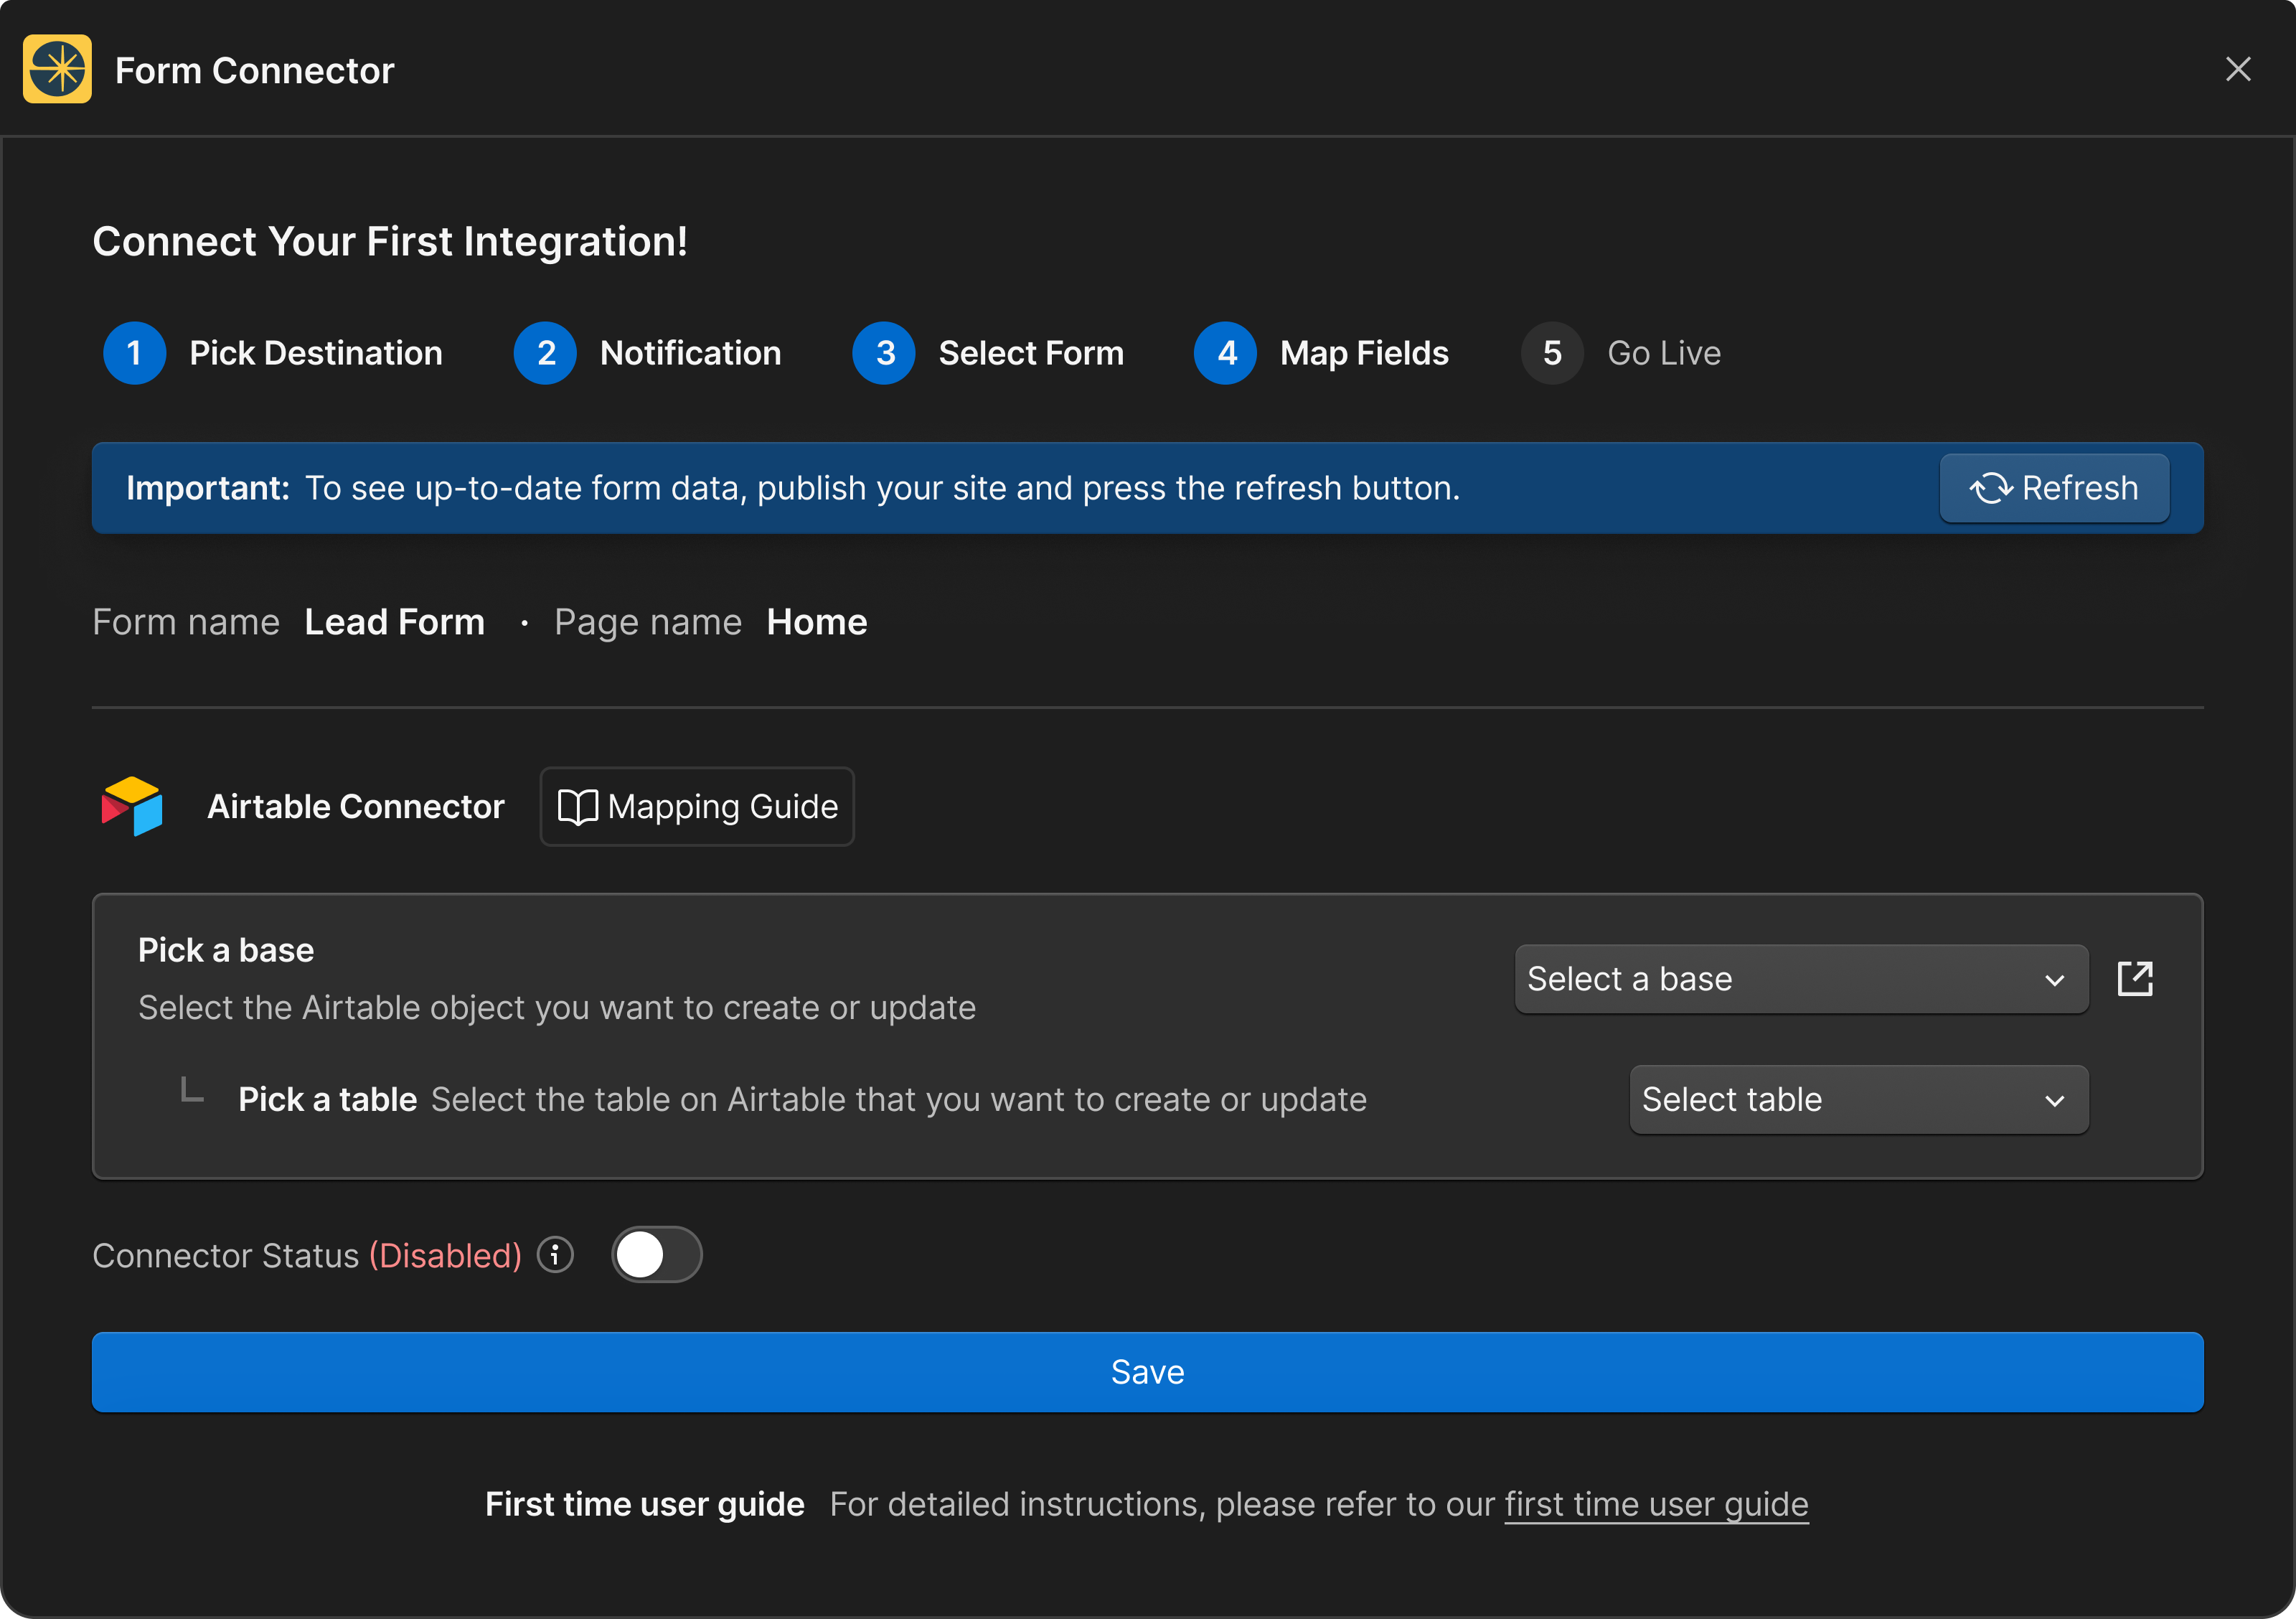
To begin mapping, you need to choose the Airtable base and the specific table where you want your Webflow form data to be stored. Without selecting these, field mapping cannot proceed.
.png)
Step 2: Map Airtable Fields to Webflow Fields
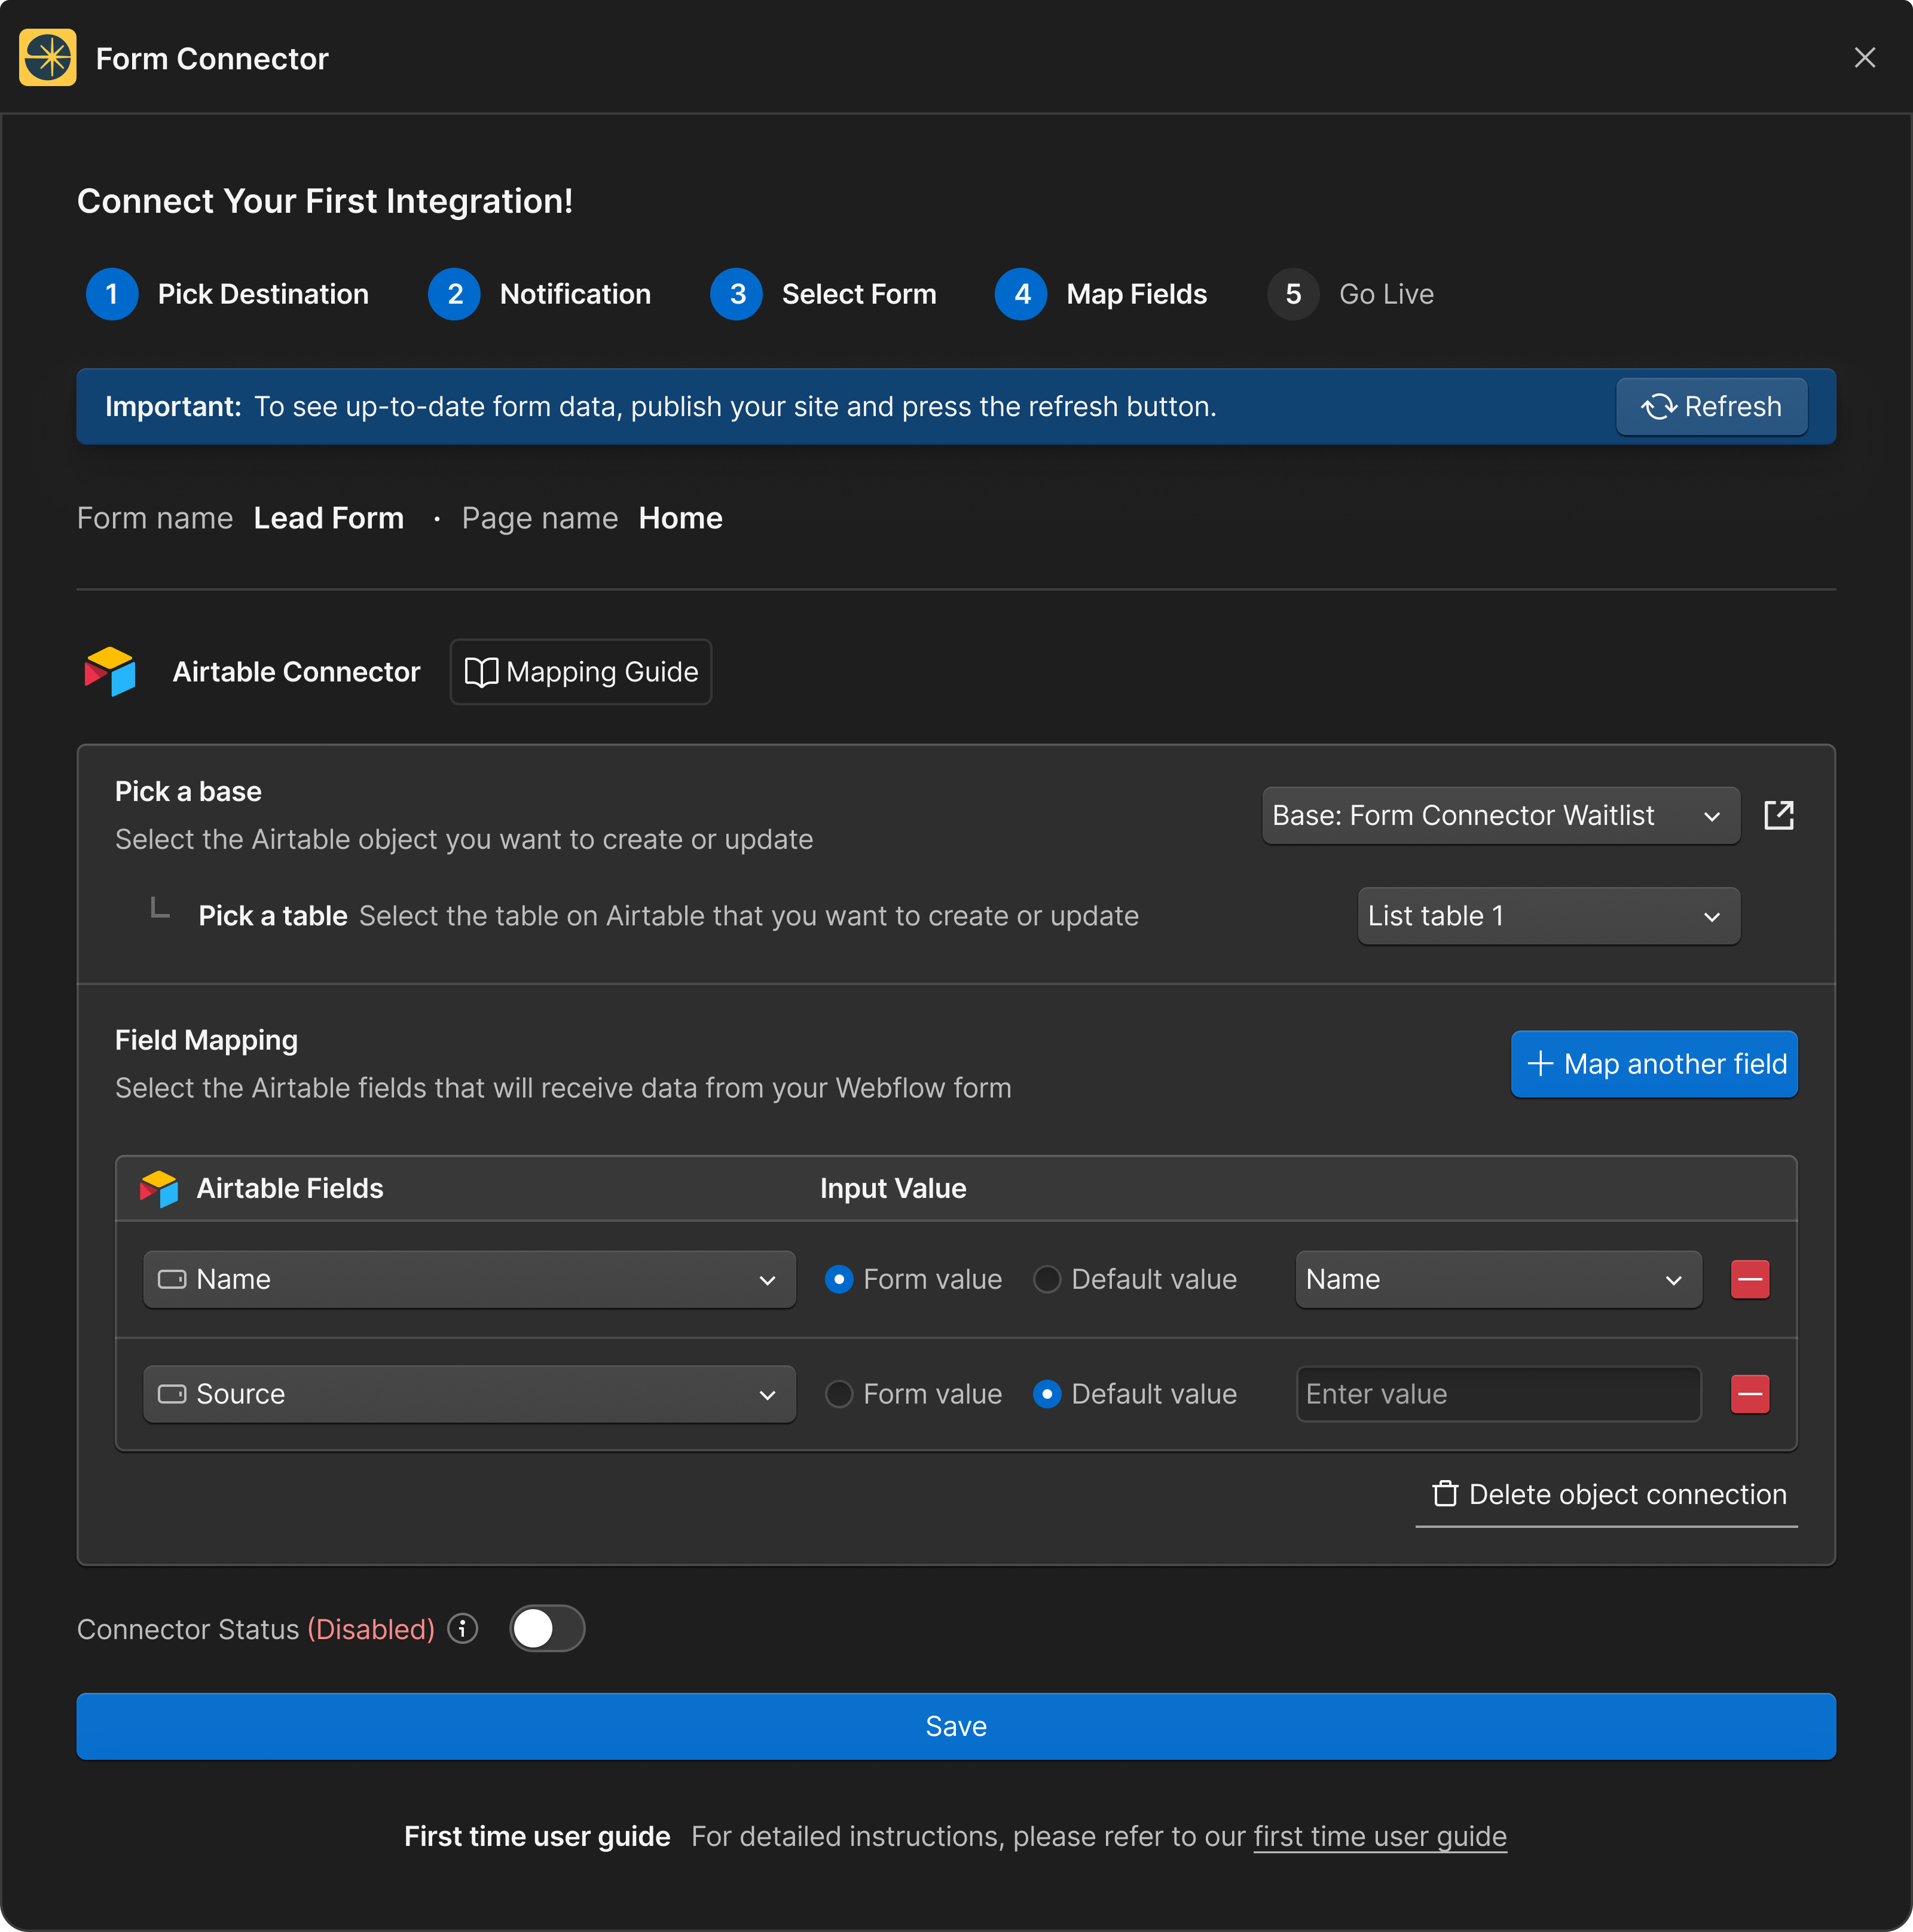
Once you have selected the base and table, proceed to map each Airtable field to the corresponding Webflow form field. This step ensures that your form data is accurately transferred and stored in Airtable. For details around this process, check out Map New Form guide.
.png)
- Select a Base: Choose the Airtable base where your form data will be saved.
- Pick a Table: Select the specific table within the base to store the data.
- Map Fields: Match each Airtable field to its corresponding Webflow form field to ensure accurate data transfer. Check out our Mapping Guide for more detailed information.
Step 3: ACTIVE YOUR CONNECTION AND SAVE
Toggle the Connector Status to enable or disable the connection. Make sure to enable it once all fields are mapped correctly.
We hope this guide helps you seamlessly map your Webflow form fields to your Airtable database using Form Connector App. If you have any questions or need further assistance, feel free to reach out to our support team. Don't forget to check out our other helpful articles to make the most out of your Form Connector experience!
Related Articles:
- First-Time User Setup Guide
- Supported and Unsupported Airtable Fields
- Map new form Guide
- Notion Mapping Guide
- Salesforce Mapping Guide