Steps to Manage Software Destinations
1. Accessing the Manage Software Destinations Menu
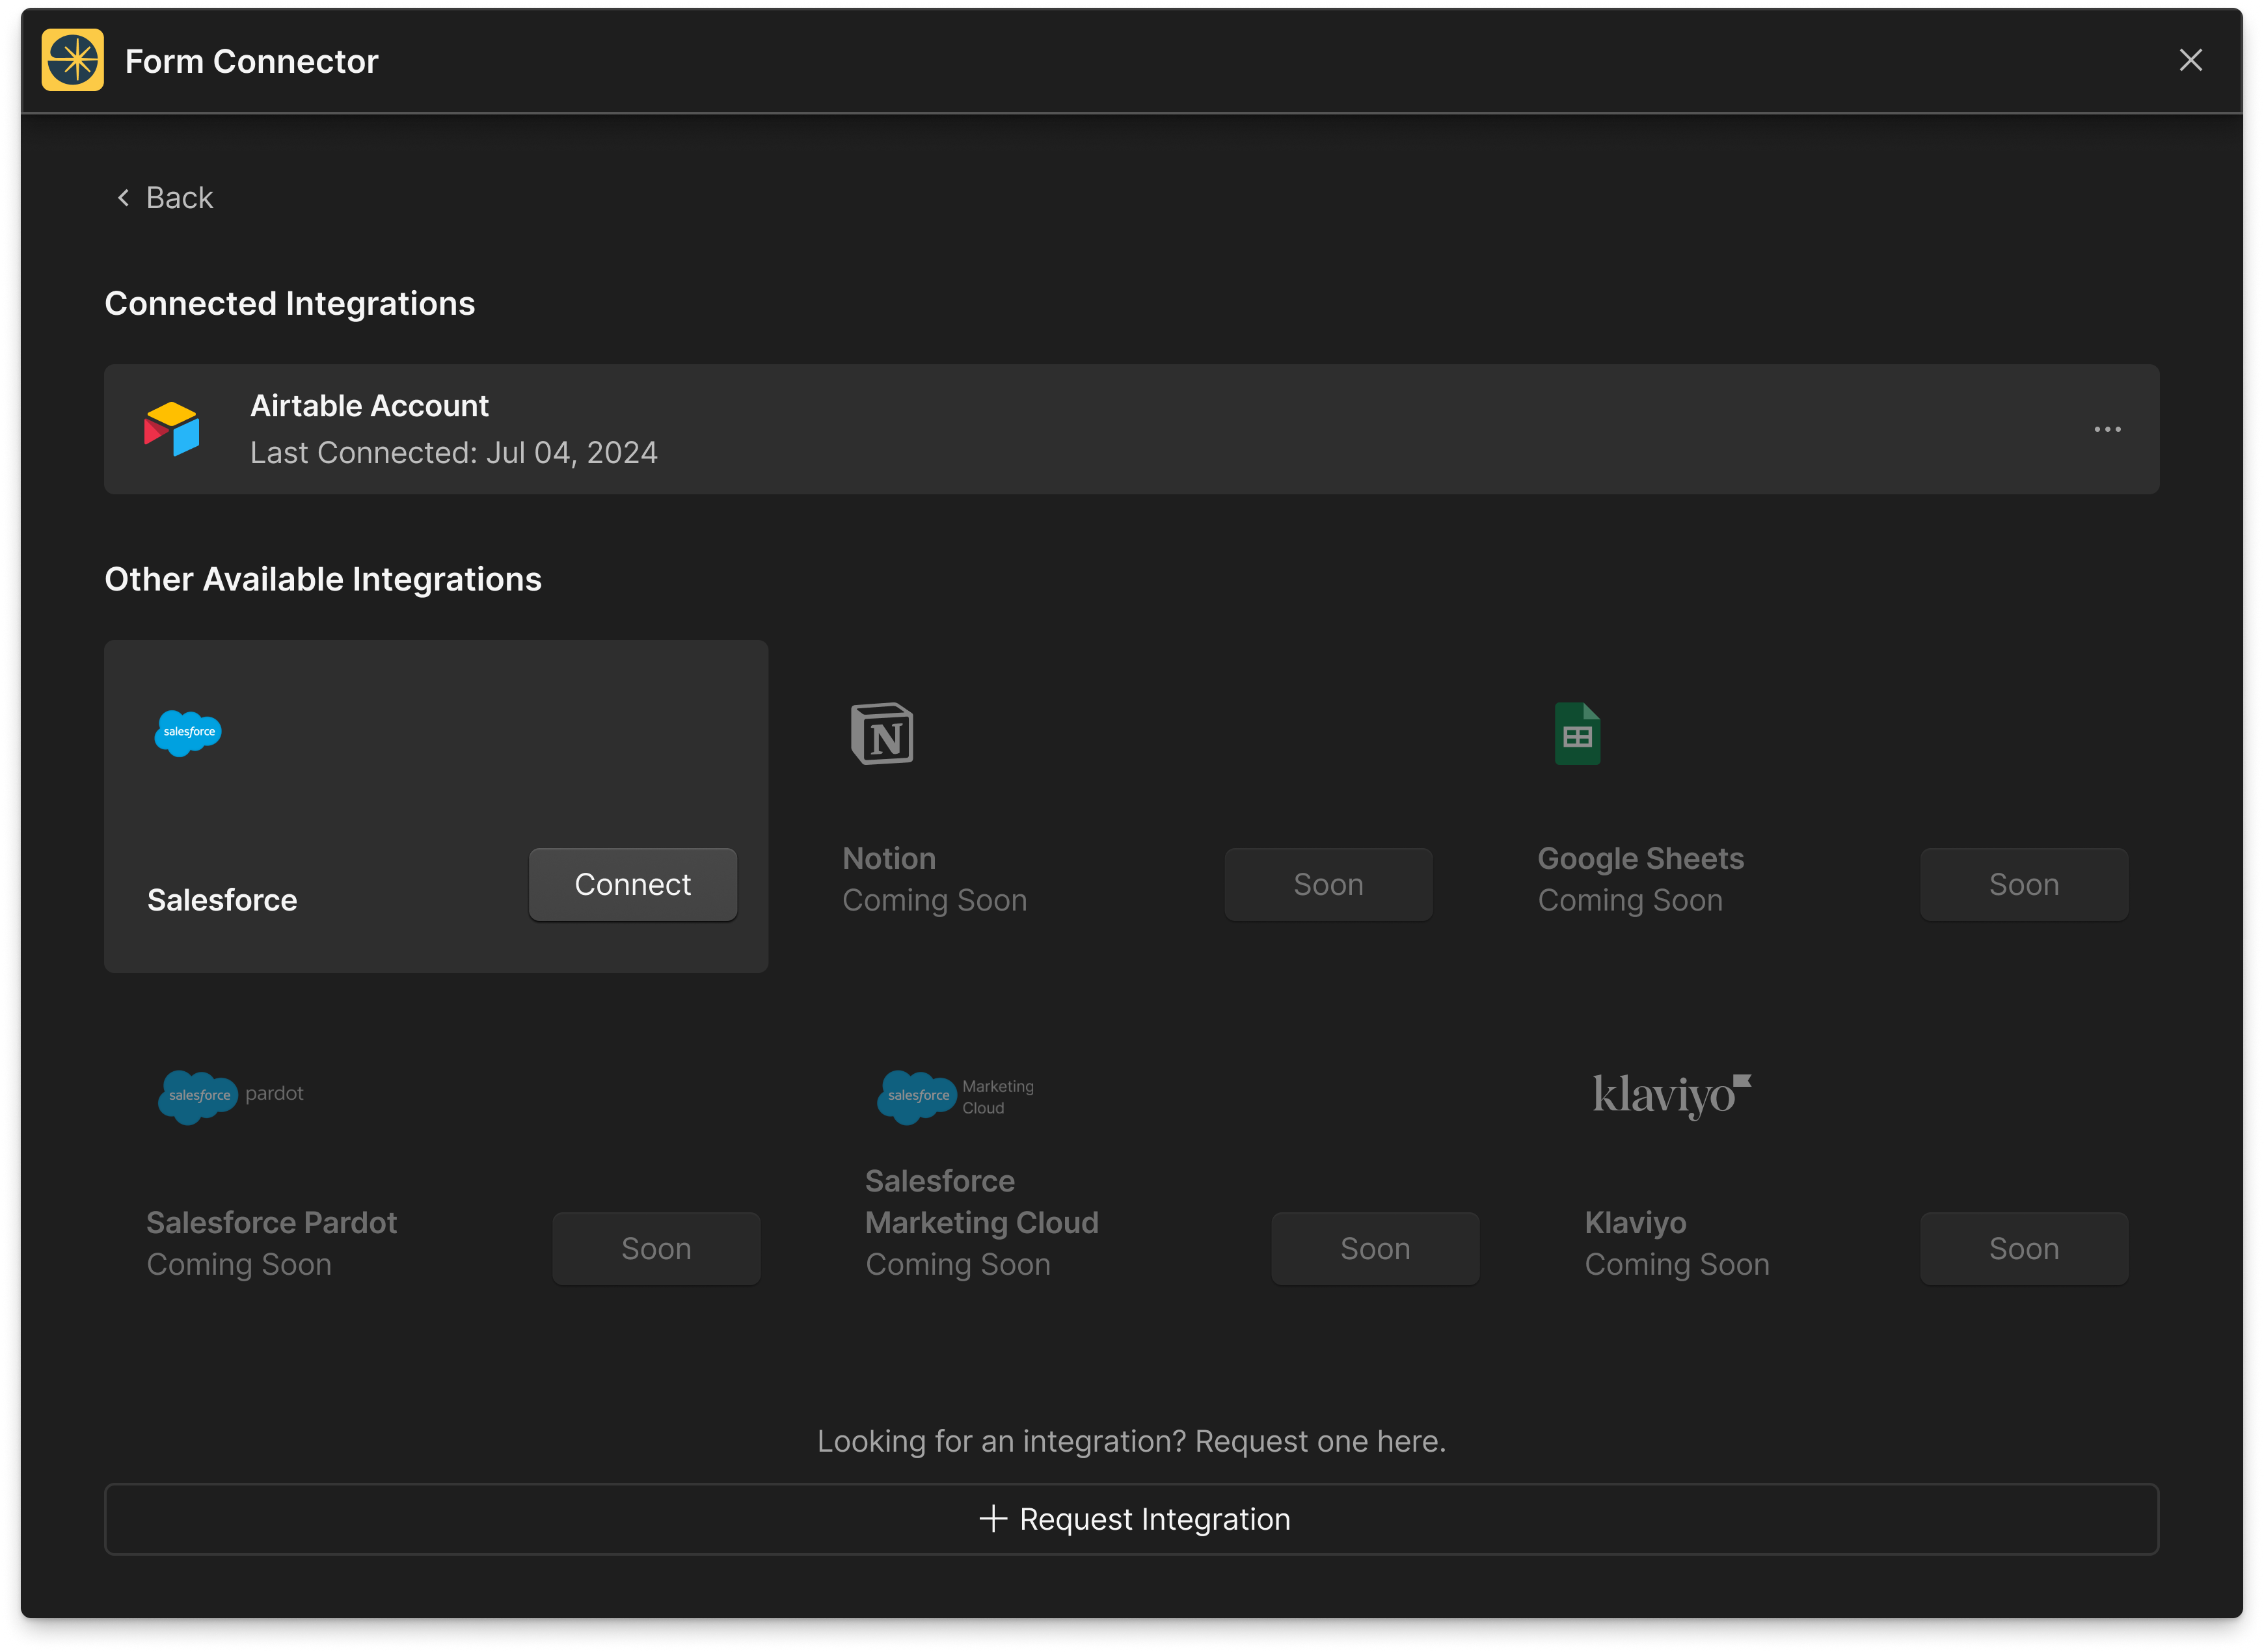
After logging into your Form Connector App account, navigate to the home menu. From the main screen, click on the "Manage Connected Integrations" button.

2. Viewing Current Integrations
You will see a screen displaying all your current software destinations. Each integration will be listed with options to connect, or delete them individually.

3. Adding New Integrations
You will be presented with a list of available software destinations that can be integrated with Form Connector App.
- Selecting a Destination: Choose the desired software from the list and click "Connect".
- Authorization: Follow the prompts to authorize Form Connector App to access your selected software. For example, if you are integrating with Airtable, you will need to grant access to specific bases and tables. Refer to our Set Up Software Destination guide for detailed instructions on the Workspace authorization process.
4. Deleting Existing Integrations
To delete an existing integration, navigate to the "Connected Integrations" and click the option "Delete". Confirm the deletion to remove the integration from Form Connector App.
5. Requesting New Integrations
If you need to connect to a software destination that is not currently supported, you can request a new integration.
For more detailed instructions on specific integrations, refer to our other articles, such as the Map New Form and Edit Connected Forms articles, or contact our support team.
Thank you for using Form Connector App to streamline your Webflow integrations!